Setting Up the Science Center
Just like setting up the blocks center, you will need to have a copy of the Instructional Quality Guidelines (if you teach pre-k in the state of Georgia under the Bright From the Start program) or whatever guidelines are relevant in your state. As you set up your center you can check off each item to prepare for when your site director follows up with the checklist.
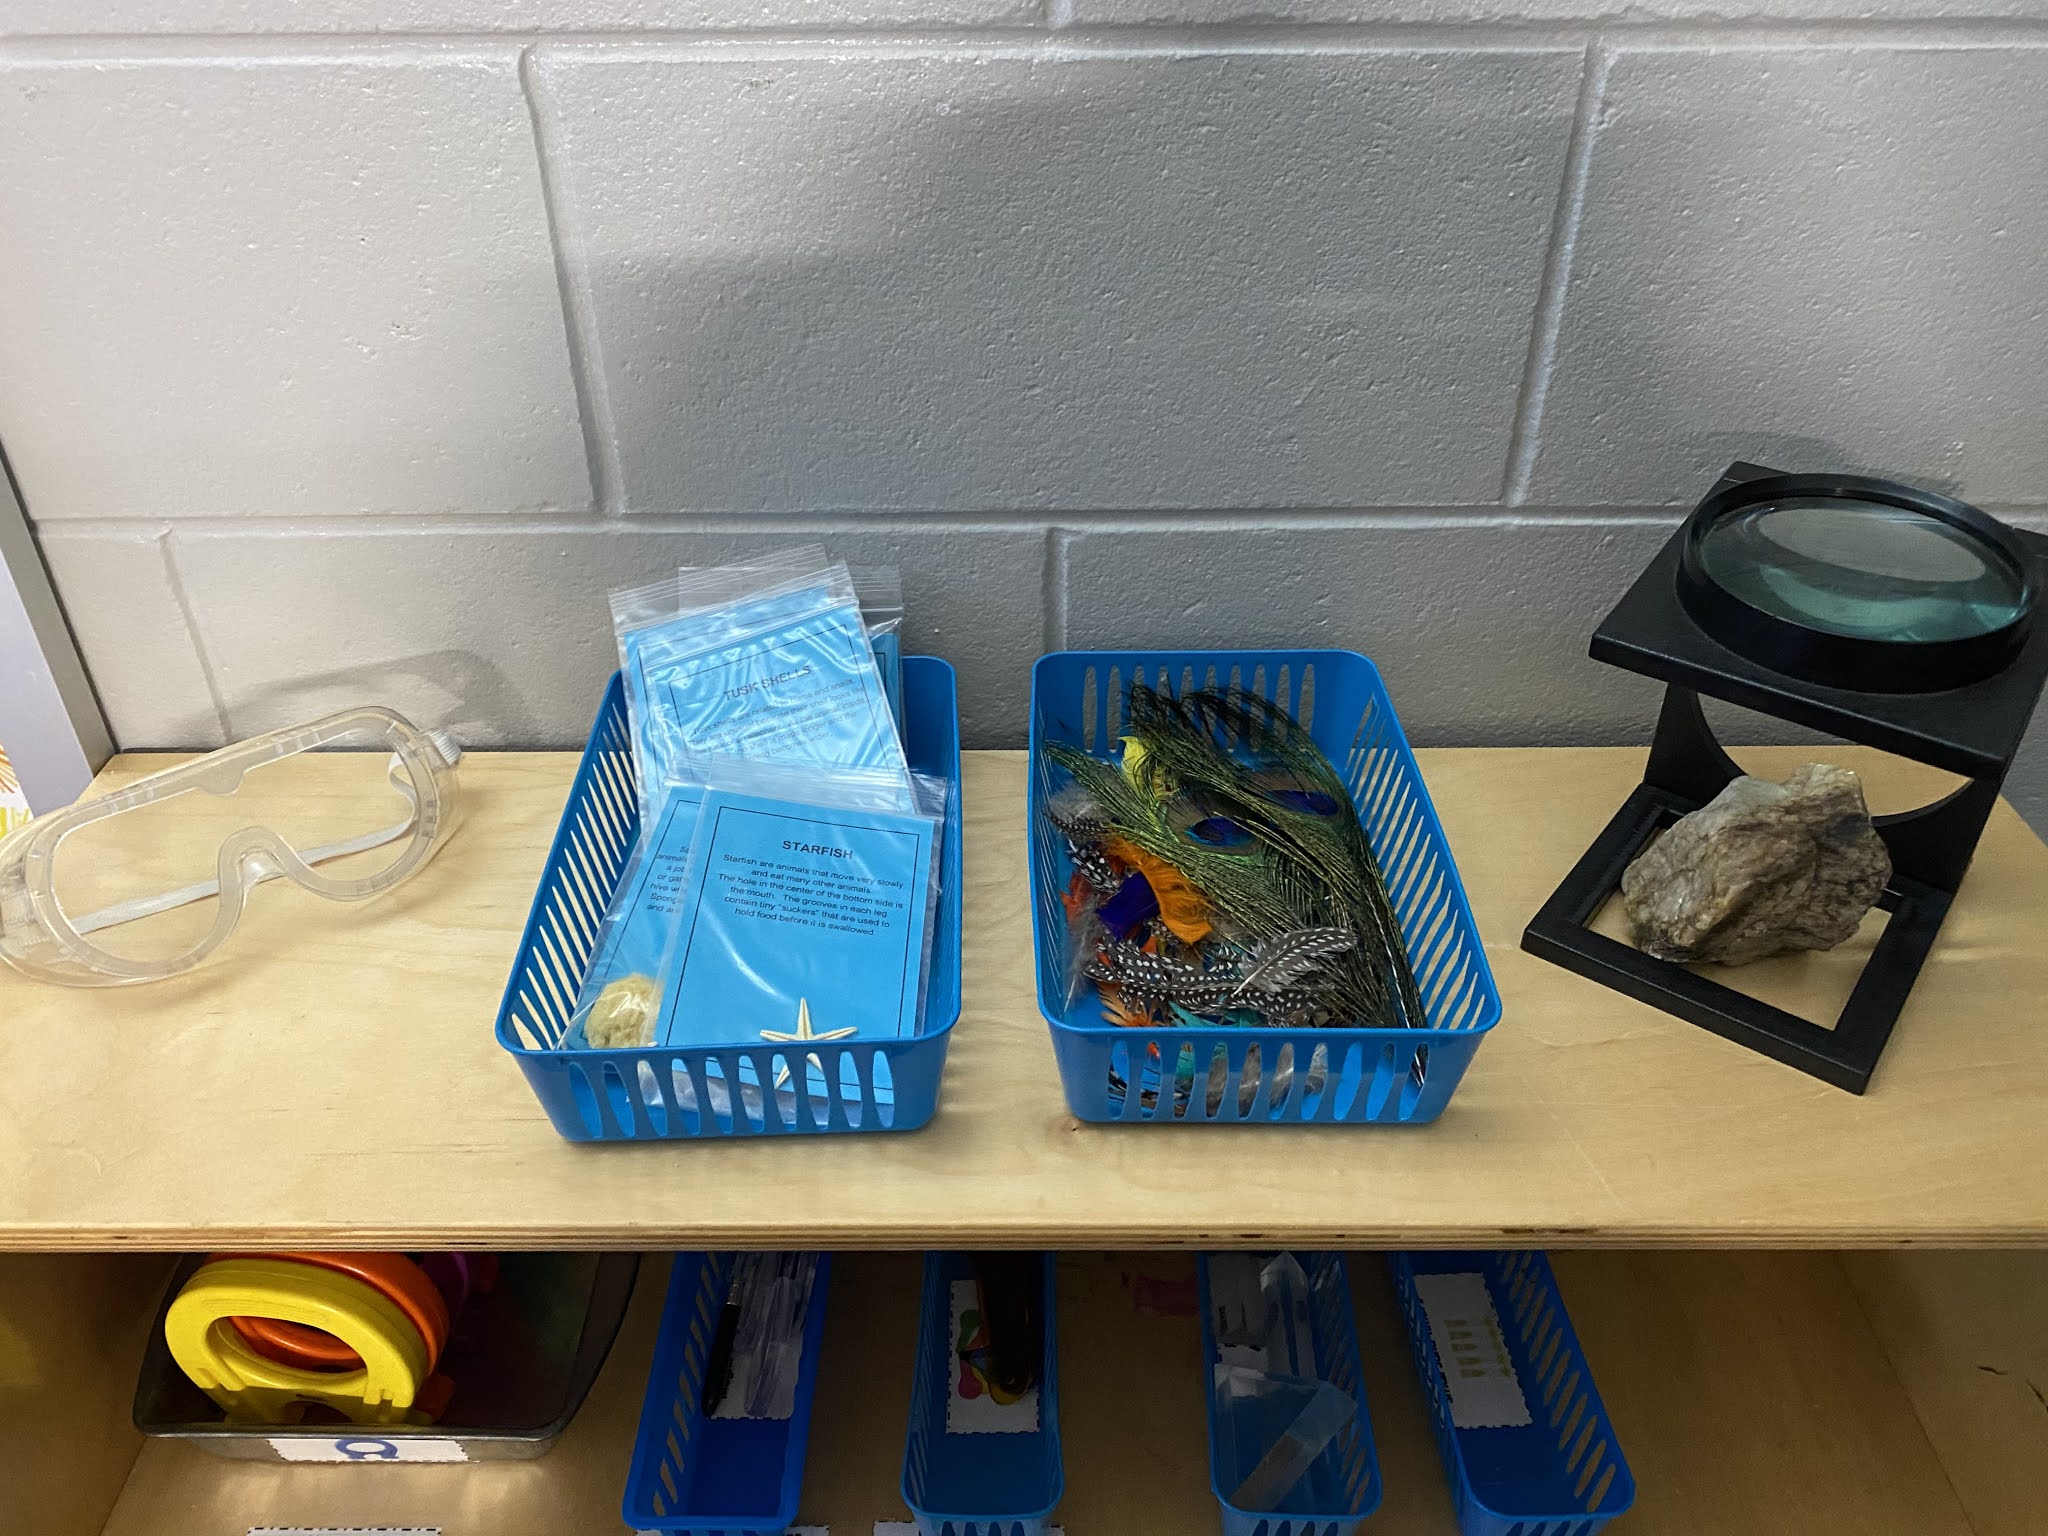
Here is a picture of my science center this year. It does not take long to set up. I still need to print some labels for items that I decided to add this year, but it is mostly complete.
- Sensory table with sensory materials
- 3 different basic science materials
- 3 types of discovery materials
- 2 sets of pictures/collections
- Something living to care for
- Materials to promote literacy development
Sensory Table/Materials
I will not be using my sensory table at the start of the year due to the current pandemic. I will update or post about it when it is allowed in our classrooms again.
Basic Science Materials
These are just items students would use to carry out any scientific investigation, like magnets or magnifying glasses. You are only required to have 3 types out, but I put out several to try to drive more interest in the science center. You can see that I have magnets, magnifying glasses, color paddles, prisms, sand timers, and kaleidoscopes.
I like to organize things in the same colored/types of baskets in each center so students know which center the objects they were using came from. I also place a label with a real photo (rather than an illustration) inside of each basket and on the shelf where the item or basket sits. This makes clean up time go smoothly.
Discovery Materials
These can be any number of items your students can use to explore. I have magnetic discovery board, which holds several different items. Some are magnetic and some are not. The students can use the magnets in the science center to see which items "stick" to the magnets. I also have a container full of toy gears that the students can use to build things.
Pictures/Collections
These are just other groups of objects that your students can explore. I rotate out rocks, marbles, seashells, pine cones, leaves, and other objects. I am starting the year off with feathers and seashells. They are sitting in baskets on the top shelf with goggles and a different magnifier.
Your Class Pet
You need to have a living thing in your classroom for students to help take care of. This can be a plant or animal. I purchased a bearded dragon during my first year and my students love him. We named him Squirrely Dan. They help feed him by using tongs to grab his crickets and worms and making him salads. They help bathe him. There are lots of ways students can help with class pets and they are a really engaging way to teach about science.
If you need help purchasing your class pet, you can apply for a grant through an organization called Pets in the Classroom. It is really easy and they have a large variety of pets you can choose from, including birds, fish, hamsters, guinea pigs, lizards, snakes, etc. The grant can be used at a variety of pet stores, so you can choose to apply for a store that is local to you. It will cover a significant portion of the cost (if not the total cost) of the pet, their habitat, and food. Just make sure to do plenty of research about what type of pet you would like because you can only get the grant one time. You can continue to apply for a yearly grant that helps with the cost of the pet too.
Materials to Promote Literacy
This is going to be similar in every center. You will want to have a basket of books related to science. These can be changed out every month or so to relate to what you're teaching or the theme for change of environment. I also like to keep clipboards and pencils out so students can draw pictures and copy science words. Anything that can be used for students to practice concepts of print and reading is going to fall into this category.


.png)